Having a professional web
presence is no longer optional for businesses, freelancers, and creators — it
is expected. The good news is that setting up a genuinely professional website
does not require thousands of dollars or a developer on retainer. With the
right choices, you can have a polished, fast, and reliable website for under
$100 per year.
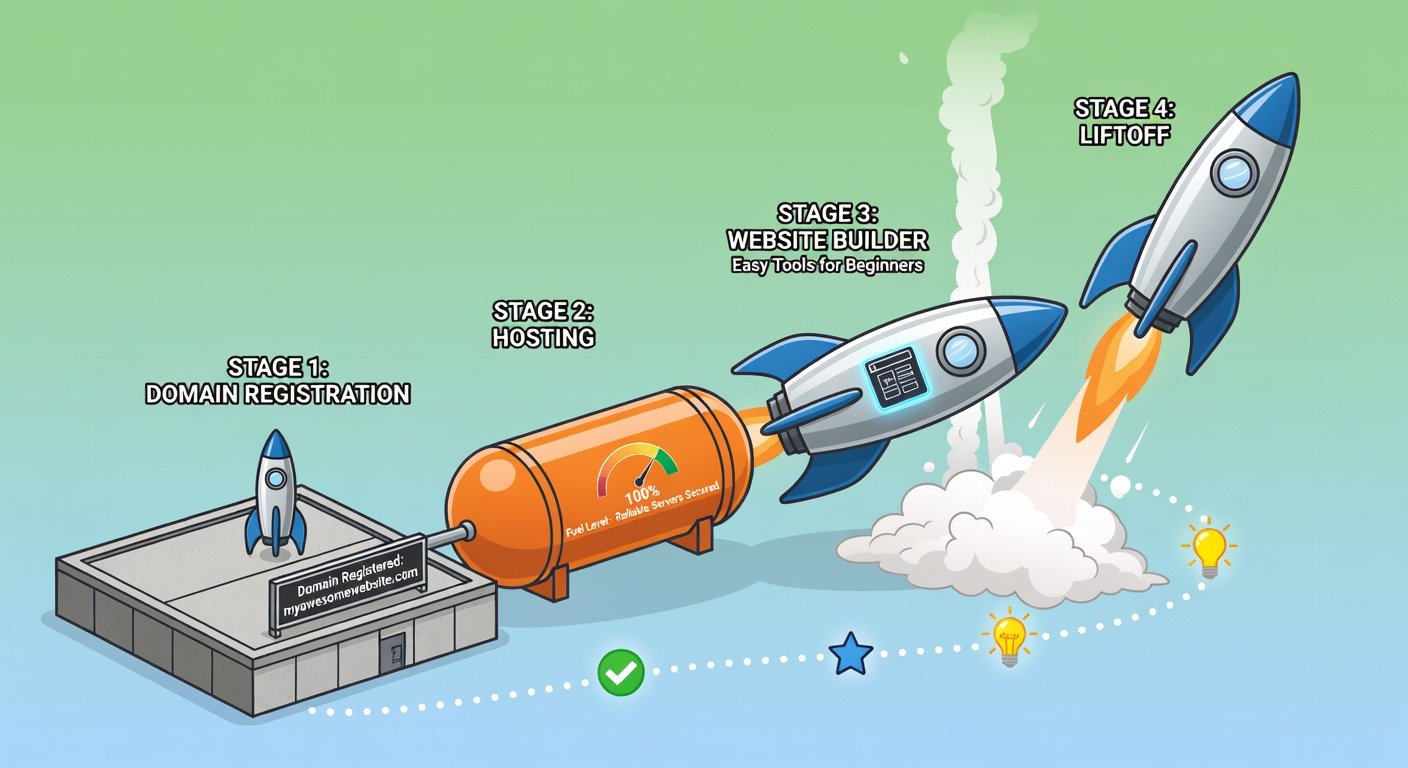
This guide walks you
through every step: choosing and registering a domain name, selecting the right
hosting, installing and configuring WordPress, making it look professional, and
launching it correctly. No experience required.
Step 1: Choose and Register Your Domain Name
How to Pick a Good Domain Name
Your domain name is your website's
address and part of your brand. Good domain names are: short (under 15
characters ideally), easy to spell and pronounce, memorable, relevant to your
business or name, and available in .com (the most trusted extension) or your
country's ccTLD (like .co.uk, .com.au). Avoid hyphens, numbers, and creative
spellings that confuse people. Check name ideas at Namecheap or GoDaddy — they
also suggest similar available alternatives.
Where to Register
Register your domain at
Namecheap (generally the most affordable), Google Domains (now Squarespace
Domains, reliable and clean interface), or Porkbun (excellent prices and simple
interface). Avoid registering your domain directly through your hosting company
unless they offer competitive pricing — this creates an unnecessary dependency
that makes switching hosts harder later. A .com domain typically costs $10-15
per year.
Step 2: Choose and Sign Up for Web Hosting
Recommended Beginner Hosting
For a new website, shared
hosting is entirely appropriate. Good beginner hosting options: SiteGround
(excellent support, better performance than most shared hosts, starts around
$5-10/month on sale), Hostinger (cheapest option at $2-4/month, decent performance),
and Bluehost (officially recommended by WordPress.org, frequent promotional
pricing). All of these include free SSL certificates and one-click WordPress
installation. Buy hosting for 1 year first — do not commit to 3 years until you
know the host works for you. Always note the renewal price.
Point Your Domain to Your Hosting
After signing up for
hosting, you will receive nameserver addresses (like ns1.siteground.com and
ns2.siteground.com). Log into your domain registrar, find your domain's DNS
settings, and update the nameservers to your host's values. DNS changes
propagate globally in 24-48 hours. If you registered your domain through your
host, this is already configured automatically.
Step 3: Install WordPress
All major hosting
providers include a one-click WordPress installer in their control panel. In
cPanel, look for WordPress under the Softaculous Apps section. Choose the
domain, set a site title, create an admin username and password, and click
Install. WordPress will be ready in about 2 minutes. Log into your new
WordPress site at yourdomain.com/wp-admin using the credentials you just set.
Step 4: Choose and Install a Professional Theme
Your theme controls your
site's appearance. Avoid themes that come bundled with your hosting — they are
generic and mediocre. Better options: Astra (fast, lightweight, works with all
page builders, free version is excellent), GeneratePress (extremely lightweight
and developer-friendly), Kadence (full-featured with great free tier), and
OceanWP (versatile for business sites). Install by going to Appearance → Themes
→ Add New → search for your chosen theme → Install → Activate.
Step 5: Install Essential Plugins
Do not install every
plugin you find — each one adds load. Start with just the essentials. Yoast SEO
or Rank Math (for SEO optimization), UpdraftPlus (for automatic backups to
Google Drive), WP Super Cache or W3 Total Cache (for performance caching),
Contact Form 7 or WPForms Lite (for a contact form), and Wordfence Security
(basic website security scanning). That is all you need to start. Add others
only when you have a specific need.
Step 6: Create Your Core Pages
Every professional website
needs these core pages minimum: Home (clear headline, brief explanation of what
you do, call to action), About (who you are, your story, why you do what you
do), Services or Products (what you offer in detail), Contact (contact form,
email, location, business hours if relevant), and Privacy Policy (legally
required in many jurisdictions — use a generator like Termly or iubenda).
Create pages in WordPress under Pages → Add New.
Step 7: Set Up Your Navigation
Go to Appearance → Menus.
Create a menu named 'Main Menu', add your core pages, set it as the Primary
Menu location, and save. Your visitors can now navigate between all your pages.
Add your most important pages and keep the menu simple — no more than 5-7
top-level items.
Step 8: Connect Google Analytics and Search Console
Google Analytics
(analytics.google.com) tells you how many visitors come to your site and what
they do. Google Search Console (search.google.com/search-console) shows how
Google sees your site and which searches lead people to you. Both are free and
essential. Use the Site Kit plugin by Google to connect both to WordPress
easily without touching any code.
Step 9: Pre-Launch Checklist
Before announcing your
site to the world: confirm SSL is active (padlock icon in browser address bar).
Check the site displays correctly on mobile. Verify all navigation links work.
Submit your sitemap to Google Search Console. Run your URL through Google
PageSpeed Insights and fix any major issues. Set up your first UpdraftPlus
backup schedule. Test your contact form by sending yourself a message.